Ever wondered how to create a travel blog that truly reflects your adventures?
I'm Abie, and after over 10 years of wandering the globe and sharing my stories online, I've picked up some valuable insights.
In this step-by-step guide, I'll walk you through everything you need to turn your travel passions into an engaging blog.
Ready? Let’s roll.
10 Easy Steps To Create a Travel Blog: My Sure-Fire Method
Here’s my sure-fire method to quickly create a travel blog.
Step 1: Discover Your Niche
Have you ever wondered how some travel blogs capture your attention from the get-go? The secret often lies in finding a unique niche.
With so many travel stories out there, narrowing down your focus helps your blog stand out and attract readers who share your passion.
When I started my travel blog over a decade ago, I was all over the map—literally and figuratively! I wrote about luxury resorts one day and backpacking adventures the next.
But I soon asked myself, "What truly excites me about travelling?"
That's when I discovered my love for sustainable, off-the-beaten-path experiences.
Focusing on eco-friendly destinations and local cultures fueled my passion and resonated with a community of like-minded travellers.
How to Find Your Passion
So, what sets your travel experiences apart?
Do you know how to uncover hidden culinary gems, or perhaps you thrive on adrenaline-pumping adventures?
Maybe family travel is where your heart is.
Identifying what you love most about travelling will make your blog authentic and engaging.
Here are some questions to ask yourself:
- What travel experiences light up your soul?
- How can your stories inspire or help others?
- What unique perspective can you bring to the travel community?
And don’t just rely on your answers. The internet is a beautiful thing, and you can use it to help define your niche.
Here are some popular tools I use when brainstorming new ideas (and niches)!
- AnswerThePublic: Discover what questions people are asking about your potential niche.
- Google Trends: See how popular different travel topics are over time.
- Reddit Travel Communities: Dive into discussions and see what fellow travellers are buzzing about.
So, how do you put all of this into an action plan? Let me help.
Action Steps for Your Blog
Start by doing the following:
- List Your Interests: Jot down the travel topics that ignite your passion.
- Research Audience Interest: Use the tools above to gauge what others are curious about.
- Test the Waters: Try writing a few posts in different niches to see what feels right and how your audience responds.
- Commit to Your Niche: Choose the niche that aligns with your passion and audience interest.
By zeroing in on a niche that excites you, your blog will stand out and become a genuine reflection of your travel journey.
Remember, passion is contagious—when you write about what you love, your readers will feel it too!
Next, let’s look at one of my largest stumbling blocks: choosing a memorable name.
Step 2: Choose a Memorable Blog Name
What's in a name?
Well, when it comes to your blog, quite a lot!
A catchy and memorable name can draw readers in and give them a glimpse of what to expect from your adventures.
Have you considered how you want the world to see your travel stories?
I won't lie; coming up with a name for my blog was an adventure in itself.
I asked myself, "How can I capture the essence of my off-the-beaten-path travels in just a few words?"
After plenty of brainstorming and a few laughs over some ridiculous ideas, I found a name that felt just right.
Here’s some hard-earned tips to help you choose a name:
- Reflect Your Niche: Incorporate words that hint at your specific focus.
- Keep It Simple: Aim for something easy to spell and remember.
- Make It Unique: Ensure your name isn't too similar to existing blogs to avoid confusion.
You can also ask yourself the following questions to help narrow down that list of travel blog names:
- What message do I want my blog's name to convey?
- Does it reflect my personality or travel style?
- Is it easy for others to pronounce and remember?
And finally, here’s my secret ingredient for success: utilize online tools to generate exceptional travel blog names. My favorite is the Find a name generator, which offers a range of creative options to help you stand out in the crowded travel blogging space.
It’s a fantastic tool to spark ideas and find that perfect name.

Action Steps for Your Blog
Here’s how to turn the above into actionable steps.
- Brainstorm Keywords: Write down words related to your niche and travel style.
- Use Name Generators: Plug your keywords into the tool above to generate ideas.
- Check Availability: Make sure the domain name is available for purchase.
- Get Feedback: Share your top choices with friends or family to see which ones resonate.
- Make Your Choice: Pick the name that feels right and secure it before someone else does!
Choosing the right name for your blog is an exciting step that makes your blogging journey feel real. It's the banner under which you'll share your stories and connect with fellow travellers.
My pro tip: Take your time, have fun with it, and pick a name that you'll be proud to call your own!
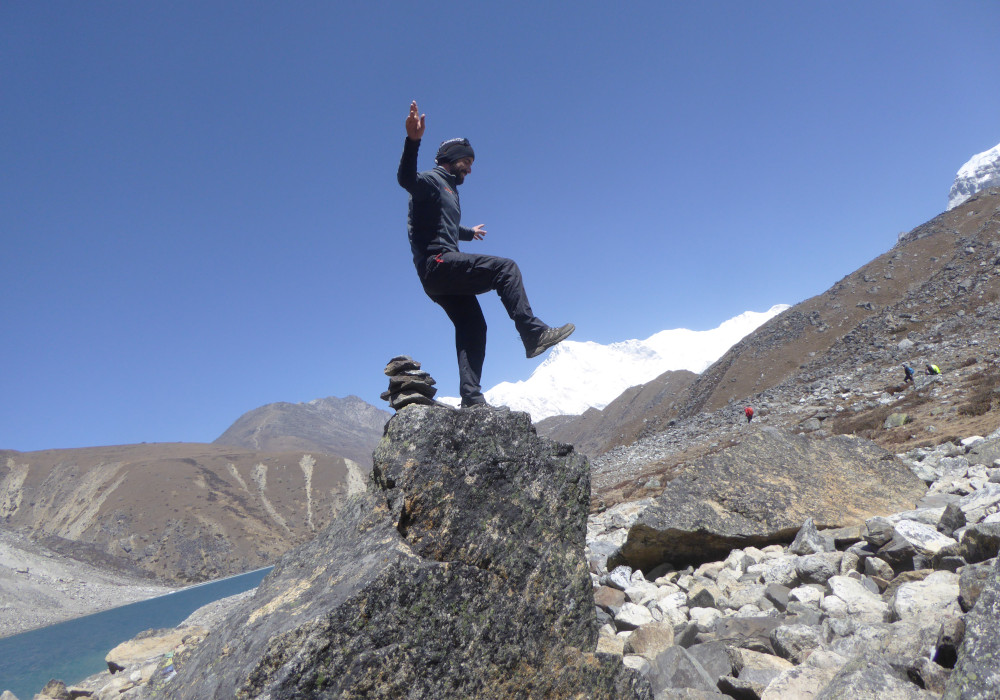
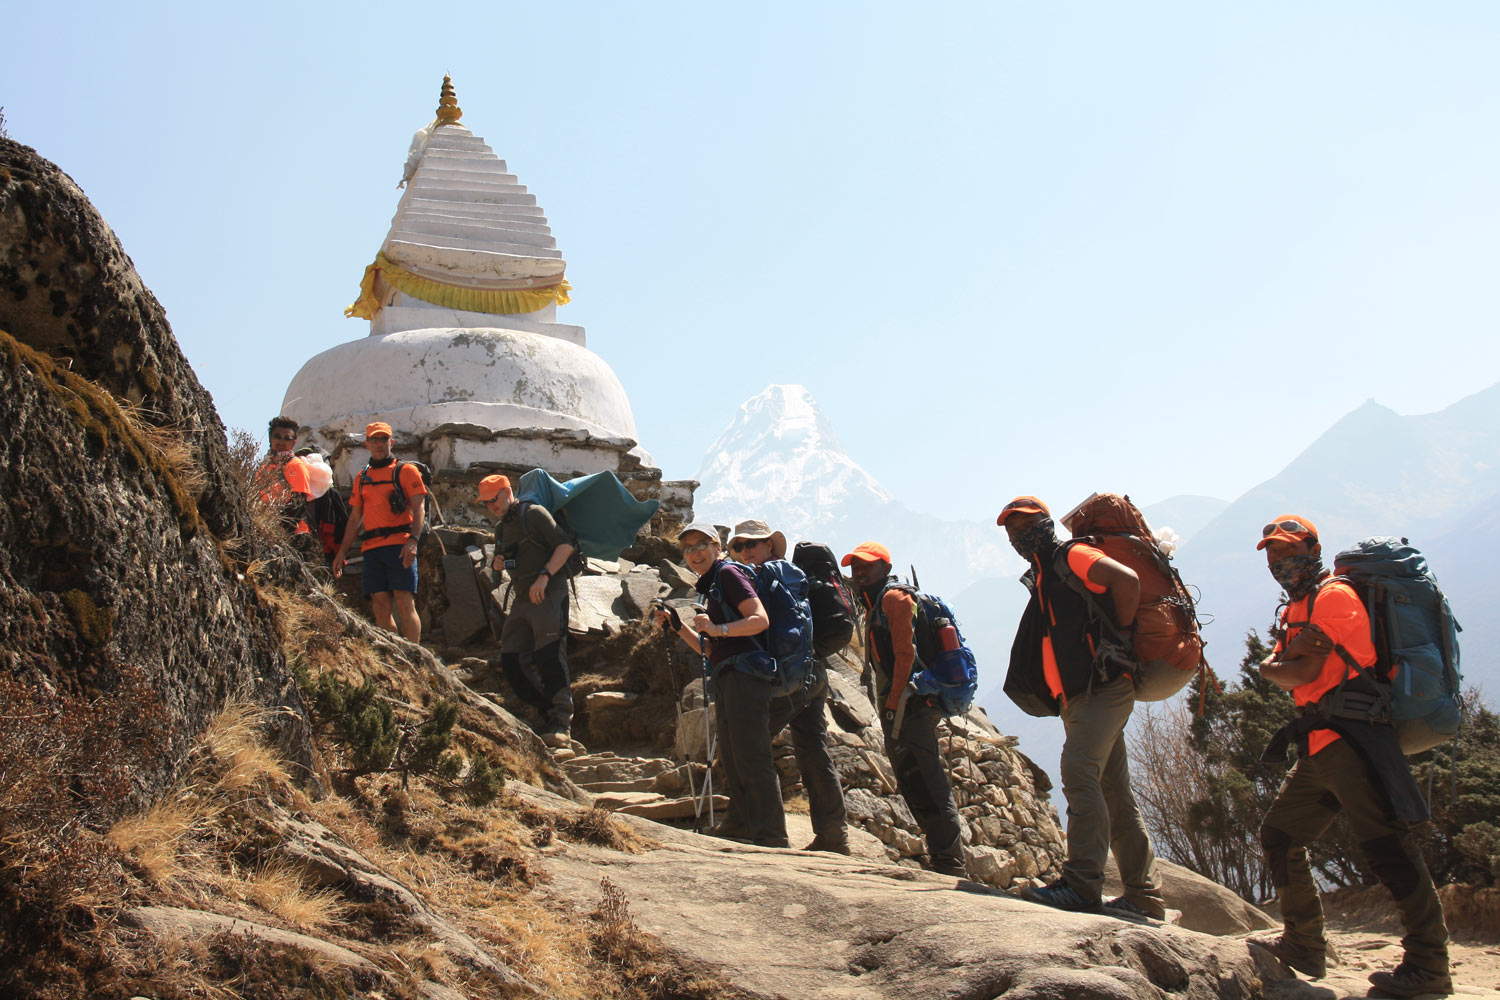
Standing on Cho Oyu in the far background. A Himalayan 8000er
Step 3: Select a Blogging Platform
Now that you've got a catchy name and a clear niche, it's time to set up your blog's home on the internet. But with what should you build it?
Choosing the right blogging platform is like picking the foundation for your house—it must suit your needs now and in the future.
Let's look at three of the most popular options:
WordPress:
- Pros: Highly customisable with thousands of plugins and themes. It's open-source and free to use (though you'll need hosting).
- Cons: Slight learning curve if you're new to website building.
- Ideal For: Bloggers who want full control and scalability.
Blogger:
- Pros: Very user-friendly and free, hosted by Google.
- Cons: Limited customisation and features compared to other platforms.
- Ideal For: Beginners who want to start quickly without much fuss.
Squarespace:
- Pros: Beautiful, professional templates and all-in-one hosting.
- Cons: Monthly fees can add up; less flexibility for advanced features.
- Ideal For: Those who prefer a sleek design without dealing with technical details.
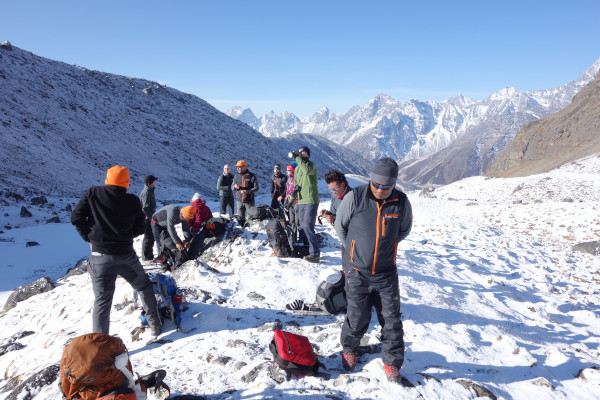
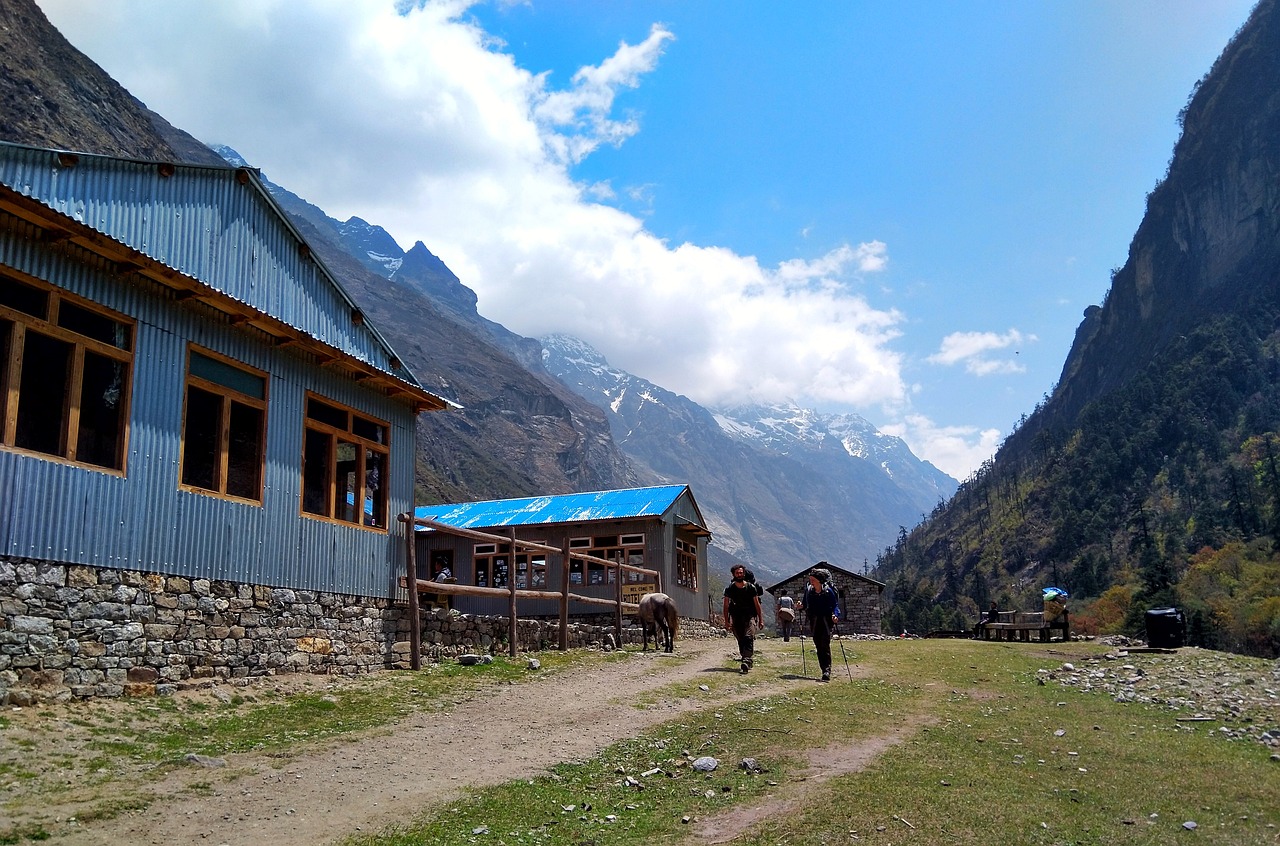
Hiking over Cho La
Why I Chose WordPress
When I was setting up my travel blog, I wanted a platform that offered flexibility and room to grow. WordPress checked all the boxes for me.
Yes, it took a bit of time to learn the ropes, but the vast community support and endless customisation options made it worthwhile.
I loved being able to tweak every aspect of my site to reflect my personal style.
Here’s a step-by-step guide on how to create a travel blog with WordPress.
- Purchase Hosting and a Domain: (We'll cover this in the next step.)
- Install WordPress: Most hosting providers offer one-click installation.
- Log In to Your Dashboard: Access your site's backend to start customising.
- Choose a Theme: Pick a design that suits your brand.
- Install Essential Plugins: Enhance functionality with SEO tools, contact forms, etc.
- Start Creating Content: You're ready to write your first post!
Choosing the platform that best fits your needs'll set you up for a smoother blogging journey.
Next, let’s talk about hosting and domains.
Step 4: Secure Hosting and a Domain
Before your new travel blog can go live, you'll need two essential things: hosting and a domain name.
- Domain Name: This is your blog's address on the internet (e.g., www.yourtravelblog.com).
- Hosting: Think of this as renting space on the internet where your blog's files live.
Without hosting, your domain name would have nowhere to point to, and without a domain, no one could find your blog!
Let’s talk hosting matters first.
Why Hosting Matters
A reliable hosting service ensures that your blog is always accessible, loads quickly, and is secure.
Trust me, nothing is more frustrating than a site that crashes or loads at a snail's pace—both for you and your readers.
Over the years, I've tried a few hosting providers. Here are some that I've found dependable:
Bluehost
- Pros: Officially recommended by WordPress, user-friendly, excellent customer support.
- Cons: Renewal rates can be higher after the initial term.
- Link: Bluehost Official Site
SiteGround
- Pros: Fast load times, great customer service, strong security features.
- Cons: Limited storage on basic plans.
- Link: SiteGround Official Site
HostGator
- Pros: Affordable pricing, easy WordPress installation.
- Cons: Upselling can be a bit aggressive during sign-up.
- Link: HostGator Official Site
Here’s what to do if you decide to go with Bluehost, like I did:
- Visit Bluehost's Website: Go to the Bluehost homepage.
- Select a Hosting Plan: Click on "Get Started Now" and choose a plan. The basic plan is great for beginners.
- Choose Your Domain Name: You'll be prompted to enter the domain name you picked earlier. Bluehost offers a free domain for the first year!
- Enter Your Details: Fill in your personal and payment information.
- Select Package Extras: I recommend opting for "Domain Privacy Protection" to keep your personal info private.
- Create a Password: Set a secure password for your account.
- Install WordPress: Use Bluehost's one-click WordPress installation to set up your blogging platform.
- Log In to WordPress: Access your blog's dashboard and start customising!

As a traveller, I’d much rather want to spend money on exploring, right?
While paying a monthly hosting fee may sound annoying, I learned some clever hacks for saving money on website hosting.
- Look for Promotions: Hosting providers often run discounts for the first term. For example, Bluehost sometimes offers up to 60% off.
- Long-Term Plans: Committing to a 36-month plan usually reduces the monthly cost.
- Avoid Unnecessary Add-Ons: Only select the extras you really need, like domain privacy.
Before you choose a host, ask yourself the following:
- What's your budget for hosting?
- How much traffic do you anticipate? (Most basic plans are sufficient for new blogs.)
- Do you prefer monthly payments or saving money with a longer-term plan?
With these foundations in place, you're well on your way to sharing your adventures with the world!
Next, let’s talk about designing your first travel blog.
Step 5: Design Your Blog's Look
You've secured your domain and hosting—congratulations! Now it's time to make your blog visually appealing.
Did you know that it takes only about 50 milliseconds for visitors to form an opinion about your website?
First impressions truly matter.
An attractive and user-friendly design can keep readers engaged and encourage them to explore more of your content.
When I was designing my travel blog, I wanted it to reflect not just my travels but also my personality.
I asked myself, "What vibes do I want my readers to feel when they visit?"
I settled on a clean layout with earthy tones to mirror the natural landscapes I love exploring. It took some experimenting, but finding the right look made my blog feel like home.
Luckily, again, there are plenty of online tools that can help you design the ultimate travel blog.
Easy Design Tools for Travel Bloggers
You don't need to be a graphic designer to create a beautiful blog. Here are some tools that can help:
- Canva: An intuitive platform where you can create stunning graphics for free. I use it for designing headers, blog post images, and social media posts.
- Unsplash: A treasure trove of high-quality, royalty-free images that you can use to enhance your blog's visuals.
- PicMonkey: Great for photo editing and creating custom graphics.
However, photos and graphics are only part of designing a beautiful travel blog. You must also look at the theme.
Selecting and Customising Themes
Your blog's theme sets the foundation for its overall look and feel. Here's how to choose and customise one:
- Browse Themes: For WordPress users, explore the WordPress Theme Directory for free options. Consider premium themes from sites like ThemeForest or Elegant Themes for more advanced features.
- Consider Responsiveness: Ensure the theme is mobile-friendly since many readers will visit your blog from their phones.
- Reflect Your Brand: Choose colours, fonts, and layouts that align with your niche and personal style.
- Customise Your Theme: Use the theme's customisation options to tweak the design. Add your logo and personalise the header and footer.
- Test User Experience: Navigate your blog as if you were a visitor. Make sure it's easy to find content and pages load quickly.

When I designed my blog, I asked myself the following questions:
- What emotions do I want my blog's design to evoke?
- Does the design make it easy for readers to find and enjoy my content?
- Is the theme customisable enough to grow with my blog?
Remember, a well-designed blog looks good and enhances the overall reader experience.
Got that? Great! Let’s talk about the most important part of any travel blog: The content.

Step 6: Create Compelling Content
Now comes the heart of your travel blog—the content. You've probably heard the phrase "Content is king," and it's true.
High-quality, engaging posts will attract readers, keep them coming back, and encourage them to share your stories with others.
After all, isn't sharing your adventures the whole point?
When planning my travel blog posts, I focus on topics that excite me and provide value to my readers.
Like my guide on Backpacking Like A Pro: 9 Expert Backpacking Tips You Need To Know. I love backpacking, so writing about it feels natural and brings value to my readers.
But there’s more.
I maintain an editorial calendar to track ideas and schedule posts.
Before each trip, I research and plan potential stories, but I also leave room for spontaneous experiences—that's where some of the best tales come from!
Over the years, I’ve learned a few truths, and you can apply them to your content.
- Start with a Hook: Open with a captivating anecdote or surprising fact to draw readers in.
- Tell a Story: Share your experiences in a narrative format to make readers feel like they're right there with you.
- Use Vivid Descriptions: Appeal to the senses—describe sights, sounds, smells, tastes, and textures.
- Be Authentic: Let your personality shine through. Authenticity builds trust and connection.
- Encourage Interaction: Ask questions or invite readers to share their own experiences in the comments.
Now that you’re ready to write epic travel content, you must consider some SEO basics.
SEO Basics
Optimising your content for search engines (called SEO) is essential to reaching a wider audience. Don't worry—it's not as daunting as it sounds!
Here’s what I do:
- Keyword Research: Identify phrases people use to search for content in your niche. Use tools like Ubersuggest.
- On-Page SEO: Include your target keyword in the title, headings, and naturally throughout the text. Write meta descriptions that entice users to click.
- Use Headings and Subheadings: Break up your content with H2 and H3 headings to improve readability and SEO.
- Optimise Images: Add descriptive alt text to images. Compress images to improve loading times using tools like TinyPNG.
Sounds like a lot of work, right? Don’t worry. Here are some of my favourite tools to take that burden off your shoulders:
- Yoast SEO: A WordPress plugin that helps optimise your blog posts for search engines. It offers real-time feedback on readability and keyword usage.
- Grammarly: Proofreads your writing for grammar and spelling errors.
- Hemingway Editor: Analyses your writing for clarity and simplicity.
- Trello or Asana: Project management tools to organise your editorial calendar.
Okay, so how do you put all of this together? Let me explain my method.

My Writing Process
Just follow these steps:
- Idea Generation: Keep a running list of topics in a notebook or app. Draw inspiration from your travels, reader questions, or trending topics.
- Outline Your Post: Plan the structure with headings and key points. This keeps your writing focused and organised.
- Draft: Write freely without worrying too much about perfection. Let your voice come through naturally.
- Edit and Optimise: Revise for clarity, flow, and engagement. Use SEO tools to optimise before publishing.
- Add Visuals: Enhance your posts with photos, videos, or infographics. Visuals can make your stories more immersive.
Remember, consistency is key—keep sharing your unique stories, and watch your blog's community grow!
And on the topic of community, let me teach you how to build and engage an audience.

Step 7: Build and Engage Your Audience
So, you've got amazing content on your blog, but how do you get people to see it?
That's where social media comes in.
Platforms like Instagram, Pinterest, Facebook, and Twitter are powerful tools for reaching a wider audience.
Have you thought about which platforms resonate most with your target readers?
When I started out, I focused heavily on Instagram because of its visual appeal—perfect for sharing stunning travel photos.
Over time, I expanded to Pinterest, which became a significant traffic driver for my blog.
Engaging on these platforms allowed me to connect with fellow travellers and readers who share my passion.
I recommend any of the following platforms for travel bloggers:
Instagram:
- Why It's Great: Ideal for sharing captivating images and short stories.
- Tips: Use relevant hashtags, engage with other users, and post consistently.
Pinterest:
- Why It's Great: Acts more like a search engine; pins have a long lifespan.
- Tips: Create eye-catching pins for your blog posts, join group boards, and use keywords in your descriptions.
Facebook:
- Why It's Great: Good for building a community through pages and groups.
- Tips: Share your blog posts, interact in travel groups, and consider Facebook Live for real-time engagement.
Twitter:
- Why It's Great: Excellent for networking and sharing quick updates.
- Tips: Participate in Twitter chats, use trending hashtags, and engage with influencers.
But having the correct platform is only part of the puzzle.
How to Quickly Build a Community
Engaging with your readers is key to building a loyal audience.
When I started replying to comments and emails, I noticed a significant boost in my blog's growth. It made my readers feel valued and more connected to my journey.
So, do the following:
- Respond to Comments: Always reply to comments on your blog and social media posts. Encourage further discussion by asking questions.
- Email Newsletters: Build an email list to share updates, exclusive content, or travel tips. Tools like Selzy, Mailchimp or ConvertKit can help manage your list.
- Engage in Other Communities: Comment on other blogs and participate in forums like Travel Stack Exchange. This increases your visibility and helps you connect with like-minded people.
Now, let’s talk about making money while writing for your travel blog. After all, getting paid to travel is the dream, isn’t it?
Step 8: Monetise Your Blog
Have you ever dreamed of turning your travel passion into a source of income?
Monetising your blog can make that possible.
While it won't happen overnight, you can start earning from your adventures with dedication and the right strategies.
How I Monetise My Travel Blog
Over the years, I've explored various ways to monetise my travel blog. Here's what's worked for me:
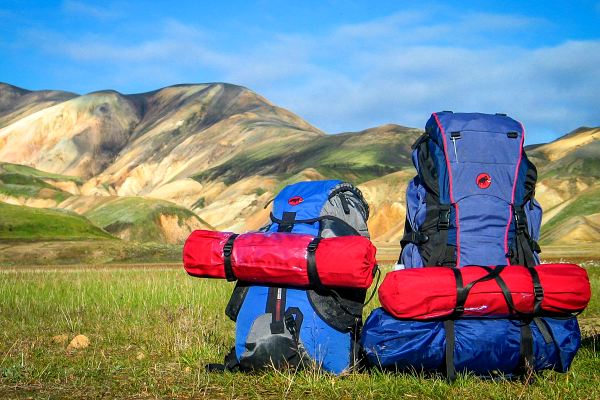
- Affiliate Marketing: Promoting products or services and earning a commission on any sales made through your unique links. I recommend gear and services I personally use, like travel backpacks or booking platforms. Here’s an example: BLUETTI PV200 Solar Panel: A Practical Review For Camping
- Sponsored Posts: Collaborating with brands to create content featuring their offerings. I've worked with eco-friendly travel companies that align with my niche.
- Display Advertising: Placing ads on your blog through networks like Google AdSense. It provides passive income, especially as your traffic grows.
- Digital Products and Services: Selling e-books, presets, or offering consulting services. I created a travel planning guide that became popular among my readers.
But how do you get started? Let me help.
Getting Started
- Join Affiliate Programs: Amazon Associates is easy to join and offers a vast product range. Look into companies like Booking.com or Airbnb and join affiliate network platforms like ShareASale or CJ Affiliate to connect you with multiple programs.
- Apply for Ad Networks: Google AdSense is a good starting point for new bloggers. MediaVine or AdThrive is great for blogs with higher traffic (usually over 50,000 monthly sessions).
- Collaborate with Brands: Create a media kit. Include your blog's stats, audience demographics, and previous collaborations. Contact brands that fit your niche, or join influencer platforms like Influence.co.
- Develop Your Own Products: What does your audience ask for? Maybe a budget travel guide or photography tips. Use platforms like Gumroad or Sellfy.
While all of this sounds fantastic, and I’m sure I can see the dollar signs in your eyes, I must share some cautionary advice.
- Stay Authentic: Only promote products or services you genuinely believe in. Your readers trust your opinions; don't compromise that for quick gains.
- Disclose Partnerships: Be transparent about sponsored content and affiliate links. This builds trust and complies with legal requirements.
- Avoid Over-Monetisation: Too many ads or sponsored posts can turn off your audience. Balance monetised content with valuable, free content.
- Be Patient: Monetisation takes time; focus on building quality content and traffic first. Don't get discouraged if earnings are slow initially.
Trust me, by choosing methods that align with your passion and serve your audience, you can create a sustainable income stream while doing what you love.
Let’s move on to step 9 of how to create a travel blog.
Step 9: Network with Other Bloggers
Have you ever felt that blogging is a solitary journey? I certainly did at first.
But let me tell you, connecting with fellow bloggers can be a game-changer for your blog.
Networking opens doors to collaborations, learning opportunities, and friendships that enrich both your personal and professional life.
Remember, we're all navigating this digital landscape together—why not support each other along the way?
I still recall attending my first travel blogging conference.
I was nervous but also excited to meet people who shared my passion.
That event led to collaborations I couldn't have imagined. I co-hosted a webinar on sustainable travel, guest-posted on a popular blog, and even organised a group trip with other bloggers.
These experiences expanded my audience and taught me new skills and perspectives.
Want to do the same? Let me show you how.

How to Connect with Fellow Travel Bloggers
Here’s how you can network with other travel bloggers:
Attend Conferences and Events
- Travel Bloggers Exchange (TBEX): One of the largest gatherings for travel bloggers and industry professionals. Attending TBEX was a pivotal moment for my blogging journey.
- Other Events: Look out for local meetups, workshops, or virtual conferences related to your niche.
Join Online Communities
- Facebook Groups: Groups like "The Business of Blogging" or "Travel Bloggers Network" are great places to ask questions and share insights.
- Forums and Discussion Boards: Platforms like Travel Blog Success offer forums where you can interact with others.
Engage on Social Media
- Twitter Chats: Participate in travel-related Twitter chats using hashtags like #TravelChat or #TTOT (Travel Talk on Twitter).
- Instagram Engagement Pods: Collaborate with other bloggers to like and comment on each other's posts, boosting engagement.
Guest Posting and Collaboration
- Write Guest Posts: Offer to write for other blogs in your niche to reach a wider audience.
- Invite Others: Host guest posts on your blog to provide fresh perspectives to your readers.
- Reach Out Directly: Don't hesitate to send a friendly email or message to bloggers you admire. Introduce yourself and express genuine interest in their work.
Remember, sharing the journey with others who get it is much more fun!
Ready for the final step? Let’s roll.

Step 10: Stay Consistent and Evolve
You've made it this far—awesome job! But here's a question: How do you keep your blog thriving in the long run?
The answer lies in consistency.
Regularly updating your blog keeps your audience engaged and signals to search engines that your site is active, which can improve your rankings.
I'll be honest—sometimes I felt uninspired or too busy to post.
However I realised that maintaining a consistent schedule was crucial for my blog's growth. I started planning, setting realistic goals, and following a routine.
Over time, this discipline paid off as I saw increased traffic and engagement. Let me share some of my productivity tips to keep you going strong.
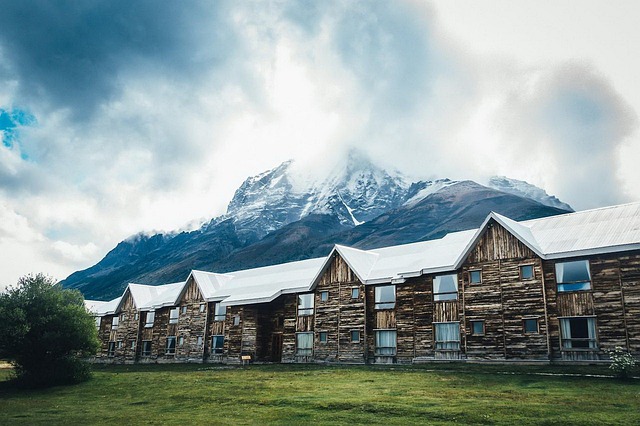
Hotel In Torres Del Paine National Park
My Travel Blog Productivity Tips
Here are some essential productivity tips I learned over the years of blogging:
- Set a Posting Schedule: Decide how often you'll publish new content—whether it's once a week or twice a month—and stick to it. Consistency helps your readers know when to expect new posts.
- Plan Ahead: Use an editorial calendar to schedule topics, deadlines, and promotion plans. Planning reduces stress and last-minute scrambling.
- Batch Work: Write multiple posts or create several social media updates in one sitting. This approach maximises productivity during times when you're feeling particularly creative.
And finally, learn how to manage your time.
I often use the Pomodoro technique. I work in focused intervals (e.g., 25 minutes of work followed by a 5-minute break).
And yes, I also set priorities. Tackle the most critical tasks first to ensure progress on essential goals.
Hotel In Torres Del Paine National Park
Here are some bonus productivity tips:
- Continual Learning: Read other blogs, attend webinars, or take online courses to improve your skills. Stay updated on industry trends and tools.
- Seek Feedback: Ask your readers what they enjoy and what they'd like to see more of. Feedback can provide fresh ideas and directions.
- Take Breaks When Needed: It's okay to step back to recharge. Quality over quantity! Use downtime to brainstorm and return with renewed energy.
My Final Thoughts
Creating a travel blog is an incredible journey in itself. From finding your niche to building a community and staying consistent, each step brings you closer to sharing your story with the world.
Remember, every expert was once a beginner. So take a deep breath, start this exciting adventure, and don't hesitate to reach out—I’m cheering for you every step of the way!

